T4 tips: Scheduling content
James Leah
Front End Web Developer
A post detailing how to schedule content to go live on a specific date.
Updating content on the web doesn't have to be a bind, in fact it can be planned, implemented and even revised well before it appears on the live webpage. In this article i'll be talking about how to schedule content to go live on date X and then also expire on date Y.
Example usecase
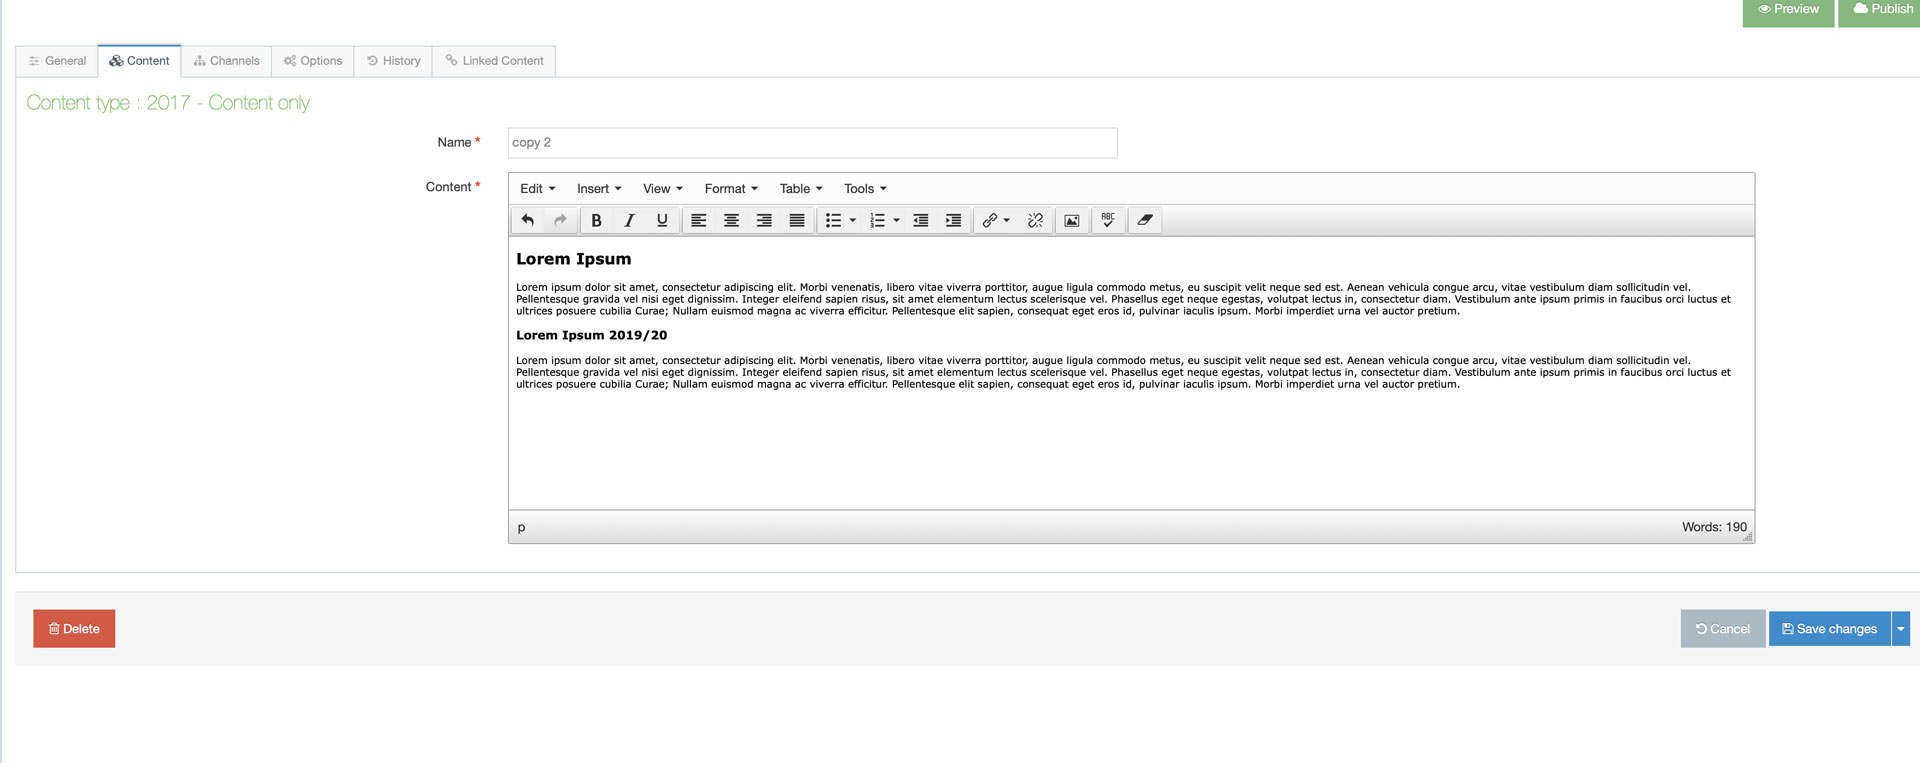
Figure 1 shows some content that is already live on the website. You have prepared the copy that will replace the content currently there, due to it being time sensative. The only thing holding us up here is the fact we do not want to make the change yet as it would go live when the current content is still releavnt for a little longer.
How to schedule content
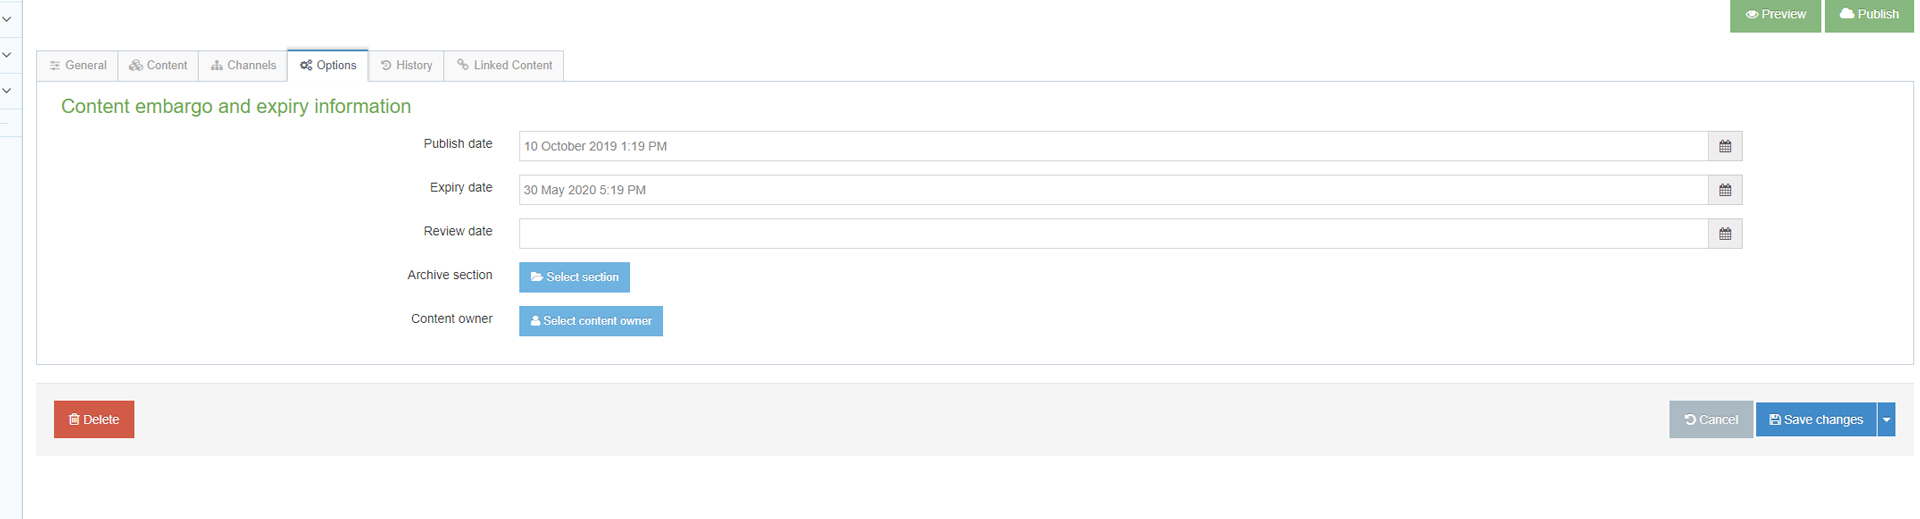
Once the content is ready press press the options tab which will display figure 2. You have three input fields that allow you to schedule content. Although in this post we will be concentrating mainly on "publish date" and "Expiry Date".
Publish Date
This field sets the date and time that you want the content to be available for publish. Please note that this doesn't mean that the content will publish out within minutes, it means that when the next publish cycle runs the content will be included.
Expiry Date
This field sets the date and time that you want the content to be removed from publish. Please note that this doesn't happen instantly it will go through on the next available publish cycle and be removed from the site. It will appear in the queue with the status approved / expired.
An improved approach
We realise that this may not always work for you, so i will detail two different options and hopefully one will work better for your workflow.
Updating current content type
This first method is the best practice approach in my opnion for a number of reasons;
The major benefit of this method is that we can keep the version histroy for the piece of content. This is really useful if we ever need to roll the content back or check who has been editing the content. The other benefit is that you are using an alrady existing content item and updating that rather than adding an additional content item. This not only helps keep the section tidy but is also one less item for T4 to deal with, improving performance ever so slightly.
* Version history allows us to see who has made changes to the piece of content and if necessary the ability to roll back to a previous revision of the content item.
Adding a replacement content type
The other method would be to add a new content type onto the page, once you've added the content and before you save your changes go to the options tab and set a publish date for the specific time you need the content to go live. Then you must go to the old piece of content and again go to the options tab, but this time set the expired time to be the same as the publish time so that you should see a smooth switch of the content that is live on the page.
TLDR;
- Making edits to webpages doesn't need to be instant, it can be done well in advance.
- Reuse existing content types where possible
- Maintain version history if possible