James Leah
Front End Web Developer
A post detailing how manipulate an image to improve its appearance on the website.
Example usecase
Assets new or old may look brilliant at first glance. However may not always have the same impact on the website. In this post i will be covering a few useful tricks using Adobe Photoshop CC to manipulate a picture of an academic to fit a primary group block and be positioned centrally, whilst mainting the required aspect ratio to be responsive.
Use case examples

Primary Group - Original asset Example
An example of using an off-centered photograph in the primary group block.

Primary Group - Manipulated asset Example
An example of using the manipulated centered asset.
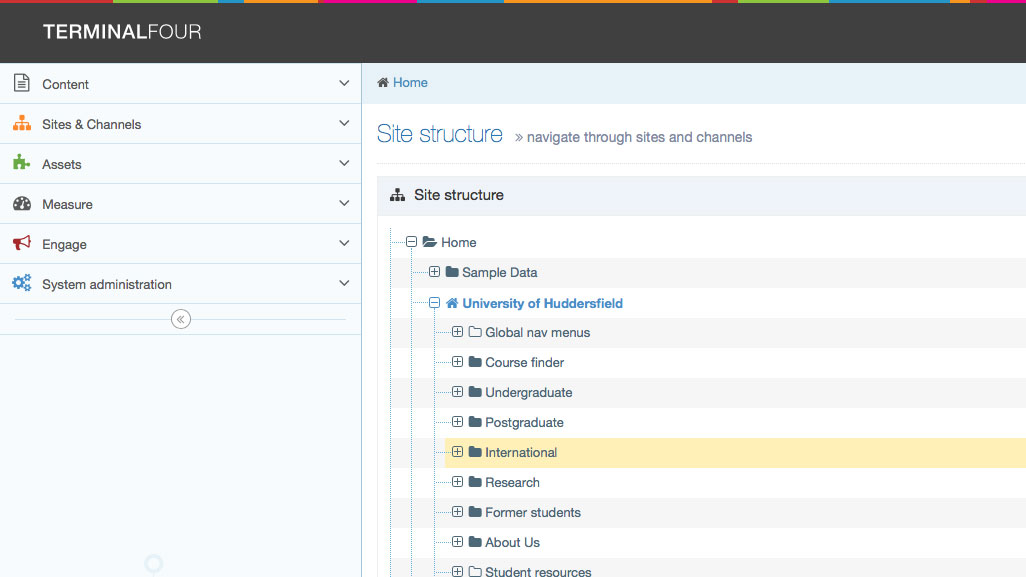
2017 - Primary group block documentation
See the documentation and supporting video for this content type.

Lasso tool
Photoshop fact
The standard Lasso Tool allows you to select areas by freehand. Simply click and drag to select the outline of your area. To complete the selection drag the mouse back to the start point. At this point you will see the familiar black and white line of a selection. If you let go of your path half way through it will complete the path for you with a straight line back to the first click.
Selecting the target
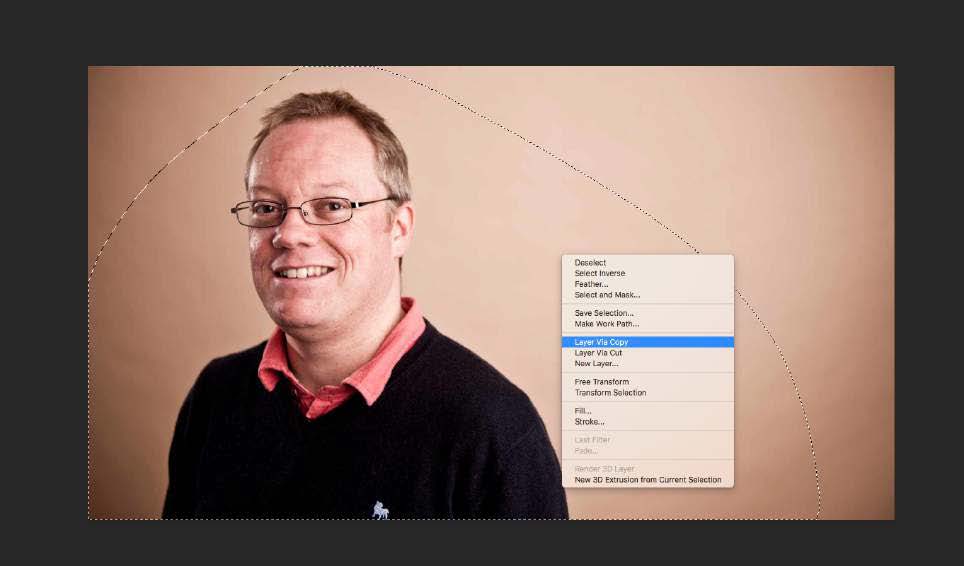
Once you have opened the image you need to edit in photoshop, you'll need to select the lasso tool which is the third option down in the left navigation. Click in an area on the screen to begin lassoing and then draw a line around the area that you need to work on, remember to finish the lasso by connecting it back to the starting point. If you don't then photshop will draw a straight line from end point to start point.
Tip: To Create straight lines hold down the ALT key as you draw the path. What this does is to toggle between the standard tool and the Polygonal Tool.
Figure 2 shows the image once it has been lassoed, you wil be able to see a dashed line around the target area. i have then right clicked on the target area and selected Layer via Copy

Layer visibility
Photoshop fact
To hide a layer click the eye icon for that layer. To re- display the layer, click the blank space in the eye column. To select a single layer to display. Alt-click (Option-click on the Mac) the eye icon for that layer in the left column of the Layers panel, all other layers disappear from view. To redisplay all layers, Alt-click (Option-click on the Mac) the eye icon again.
Managing layers
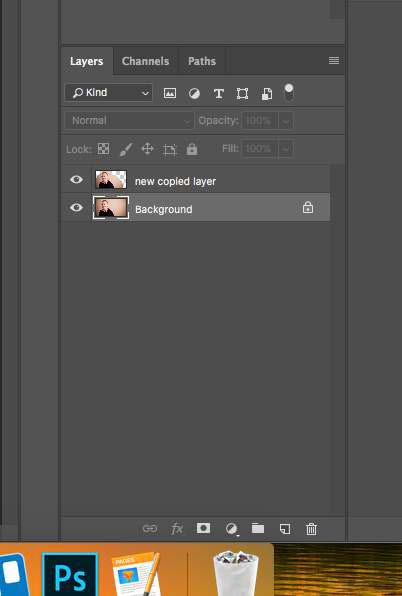
After following the previous steps you should now see a new layer in the layers panel, The next step requires you to have the background layer (original) visable and the recently copied layer hidden. To hide/show layers you need to press the eye icon which is located next to the layer.
Tip: Click and drag through the eye columns over multiple layers to show or hide more than one layer at once.
Creating the background
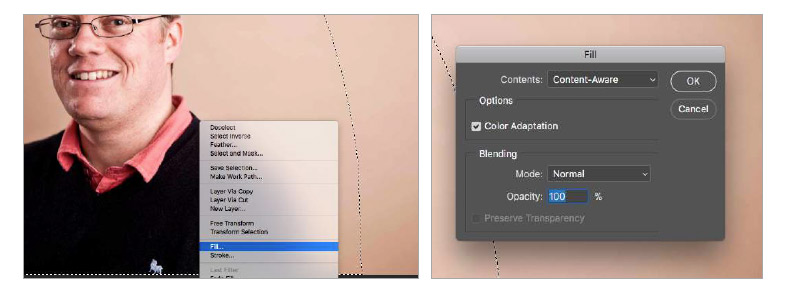
With the background (original) layer selected we need to use the lasso tool again to select the target area. However instead of copying this time we need to 'fill'. To get the fill pop up prompt you right click on the target area once it has been lassoed and press Fill as shown in figure 4. Once pressed the image to the right in figure 4 will appear, you must set the 'contents' dropdown to content-aware for this step to work. Once the correct settings have been applied press ok and this will produce something similar to figure 5.
Background fill
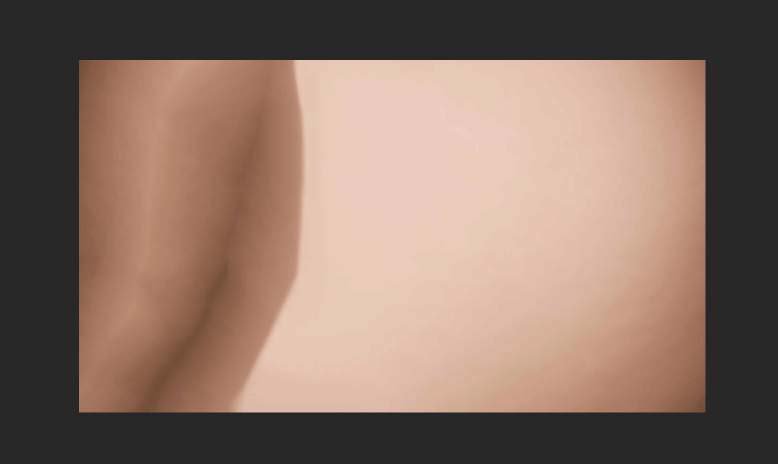
Figure 5 shows the appearance of the background layer after the the content aware fill. As you can see there are some darker areas that we still don't want. To resolve the issue with the darker sections you need to again lasso, although this time lasso the target and take plenty of extra space around the target object similar to the below. You will be able to see that I have almost selected the entire layer, don't worry about being precise here. Once selected repeat the lasso process until the background layer is all the same colour (or at least looks correct).

Move tool
Photoshop fact
Just about any object that’s identifiable within the Photoshop interface can be manipulated by the Move tool, including: Text boxes, Grouped Selections, Pasted objects, layers
Moving Layers
If we select the move tool and then click on the target layer you should then be able to move it freely around the photoshop canvas.
TIP: The Move tool is the only Photoshop tool that can be used even when it’s not selected in the tool bar. Just hold down CTRL on a PC or COMMAND on a Mac, and you’ll be able to use the Move tool no matter which tool is currently active. This makes it easy to rearrange your elements on the fly.
In figure 6 you can see that i have moved the target layer from the side into the centre.


Eraser tool
Photoshop fact
There are three options to choose from when you choose the Eraser tool, the Eraser, Background Eraser, and Magic Eraser. The Eraser tool is essentially a brush. You can change the size, hardness and spacing, just like any other brush. It's also possible for you to change the mode from Brush to Pencil or Block. The Background eraser will erase all of that color that falls within the larger circle. Even if the circle extends to a part of the image where you don't want to erase, The Magic Eraser tool works similarly to the Magic Wand tool in that it selects a larger area based around contrast in pixels.
Erasing part of a layer
Select the eraser tool for the next step, to make the brush larger/smaller use the curly brackets keys on your keyboard. (left = smaller right = larger). I would recommend drawing an outline around the target and then rubbing out everything external to that line.
Leaving you with something similar to the example to the left (figure 7).
I recommend selecting a smaller rubber size and to zoom in for the next step, Ctrl and + for zoom in and Ctrl - to zoom out.


Zoom tool
Photoshop fact
Photoshop’s zoom function is very versatile and allows you to zoom in and out of an image in many different ways. You can use the keyboard shortcut control (windows) command (mac) and +/- to zoom in or out. Alternatively you can add the zoom tool to your toolbar, to do this go to edit - toolbar in the navigation menu. This will open a prompt where you can add additional components into your toolbar simply by dragging them from the left column to the right.
Now for the magic (eraser tool)
The most detailed and difficult part is the hair, I use the “magic eraser tool” to do this as it does the job for you in most cases. The only issue is when he contract between skin and hair colour isn’t strong enough and cant differentiate the two. All you need to do is click on the area you wish to delete and then press backspace.
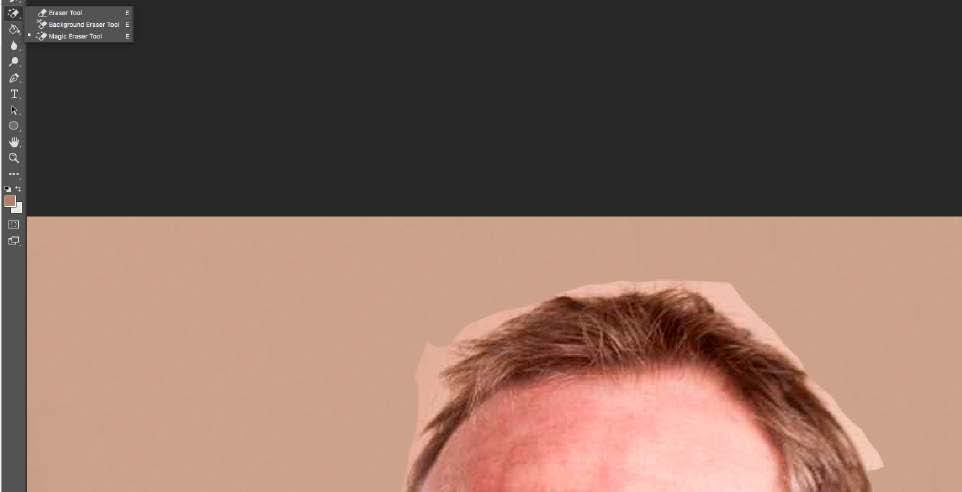
The last thing to do is to move the layer into the centre of the layer and then save for web as a 16:9 ratio image with the minimum dimensions 1920px x1080px and a file size of 300kb or under!
TIP
Save the document as a .psd so you don’t have to create a background every time. You can just use the same one! I usually structure my photoshop document into folders with suitable names for layers so it’s easier to understand when you are hiding/ showing layers and also if you are collaborating with team members.
TLDR;
- Images sometimes will need work to fit in with site design content types.
- Keep photoshop tidy from the start manage it like you would a folder on the desktop with folders for different aspects. (it will be easier in the long run)
- keeping a psd will save time in the future
- might take a few tries to get the best result
Final output

Primary Group - End product
An example of using the manipulated centered asset.
